5 steps to a masterpiece
Most importantly - each rhinestone and bead should take its place in the picture, according to the scheme. Work on diamond embroidery includes the following main stages:
1. The workplace should be comfortable, lighted and wide enough for the most comfortable and fast work.
2. Prepare the rhinestones by arranging them as you see fit.
Importantly The adhesive base is able to quickly attract microparticles of dust - it is better not to peel off the material more than planned to perform work. If you have already peeled off the extra part of the film, you can glue it back.
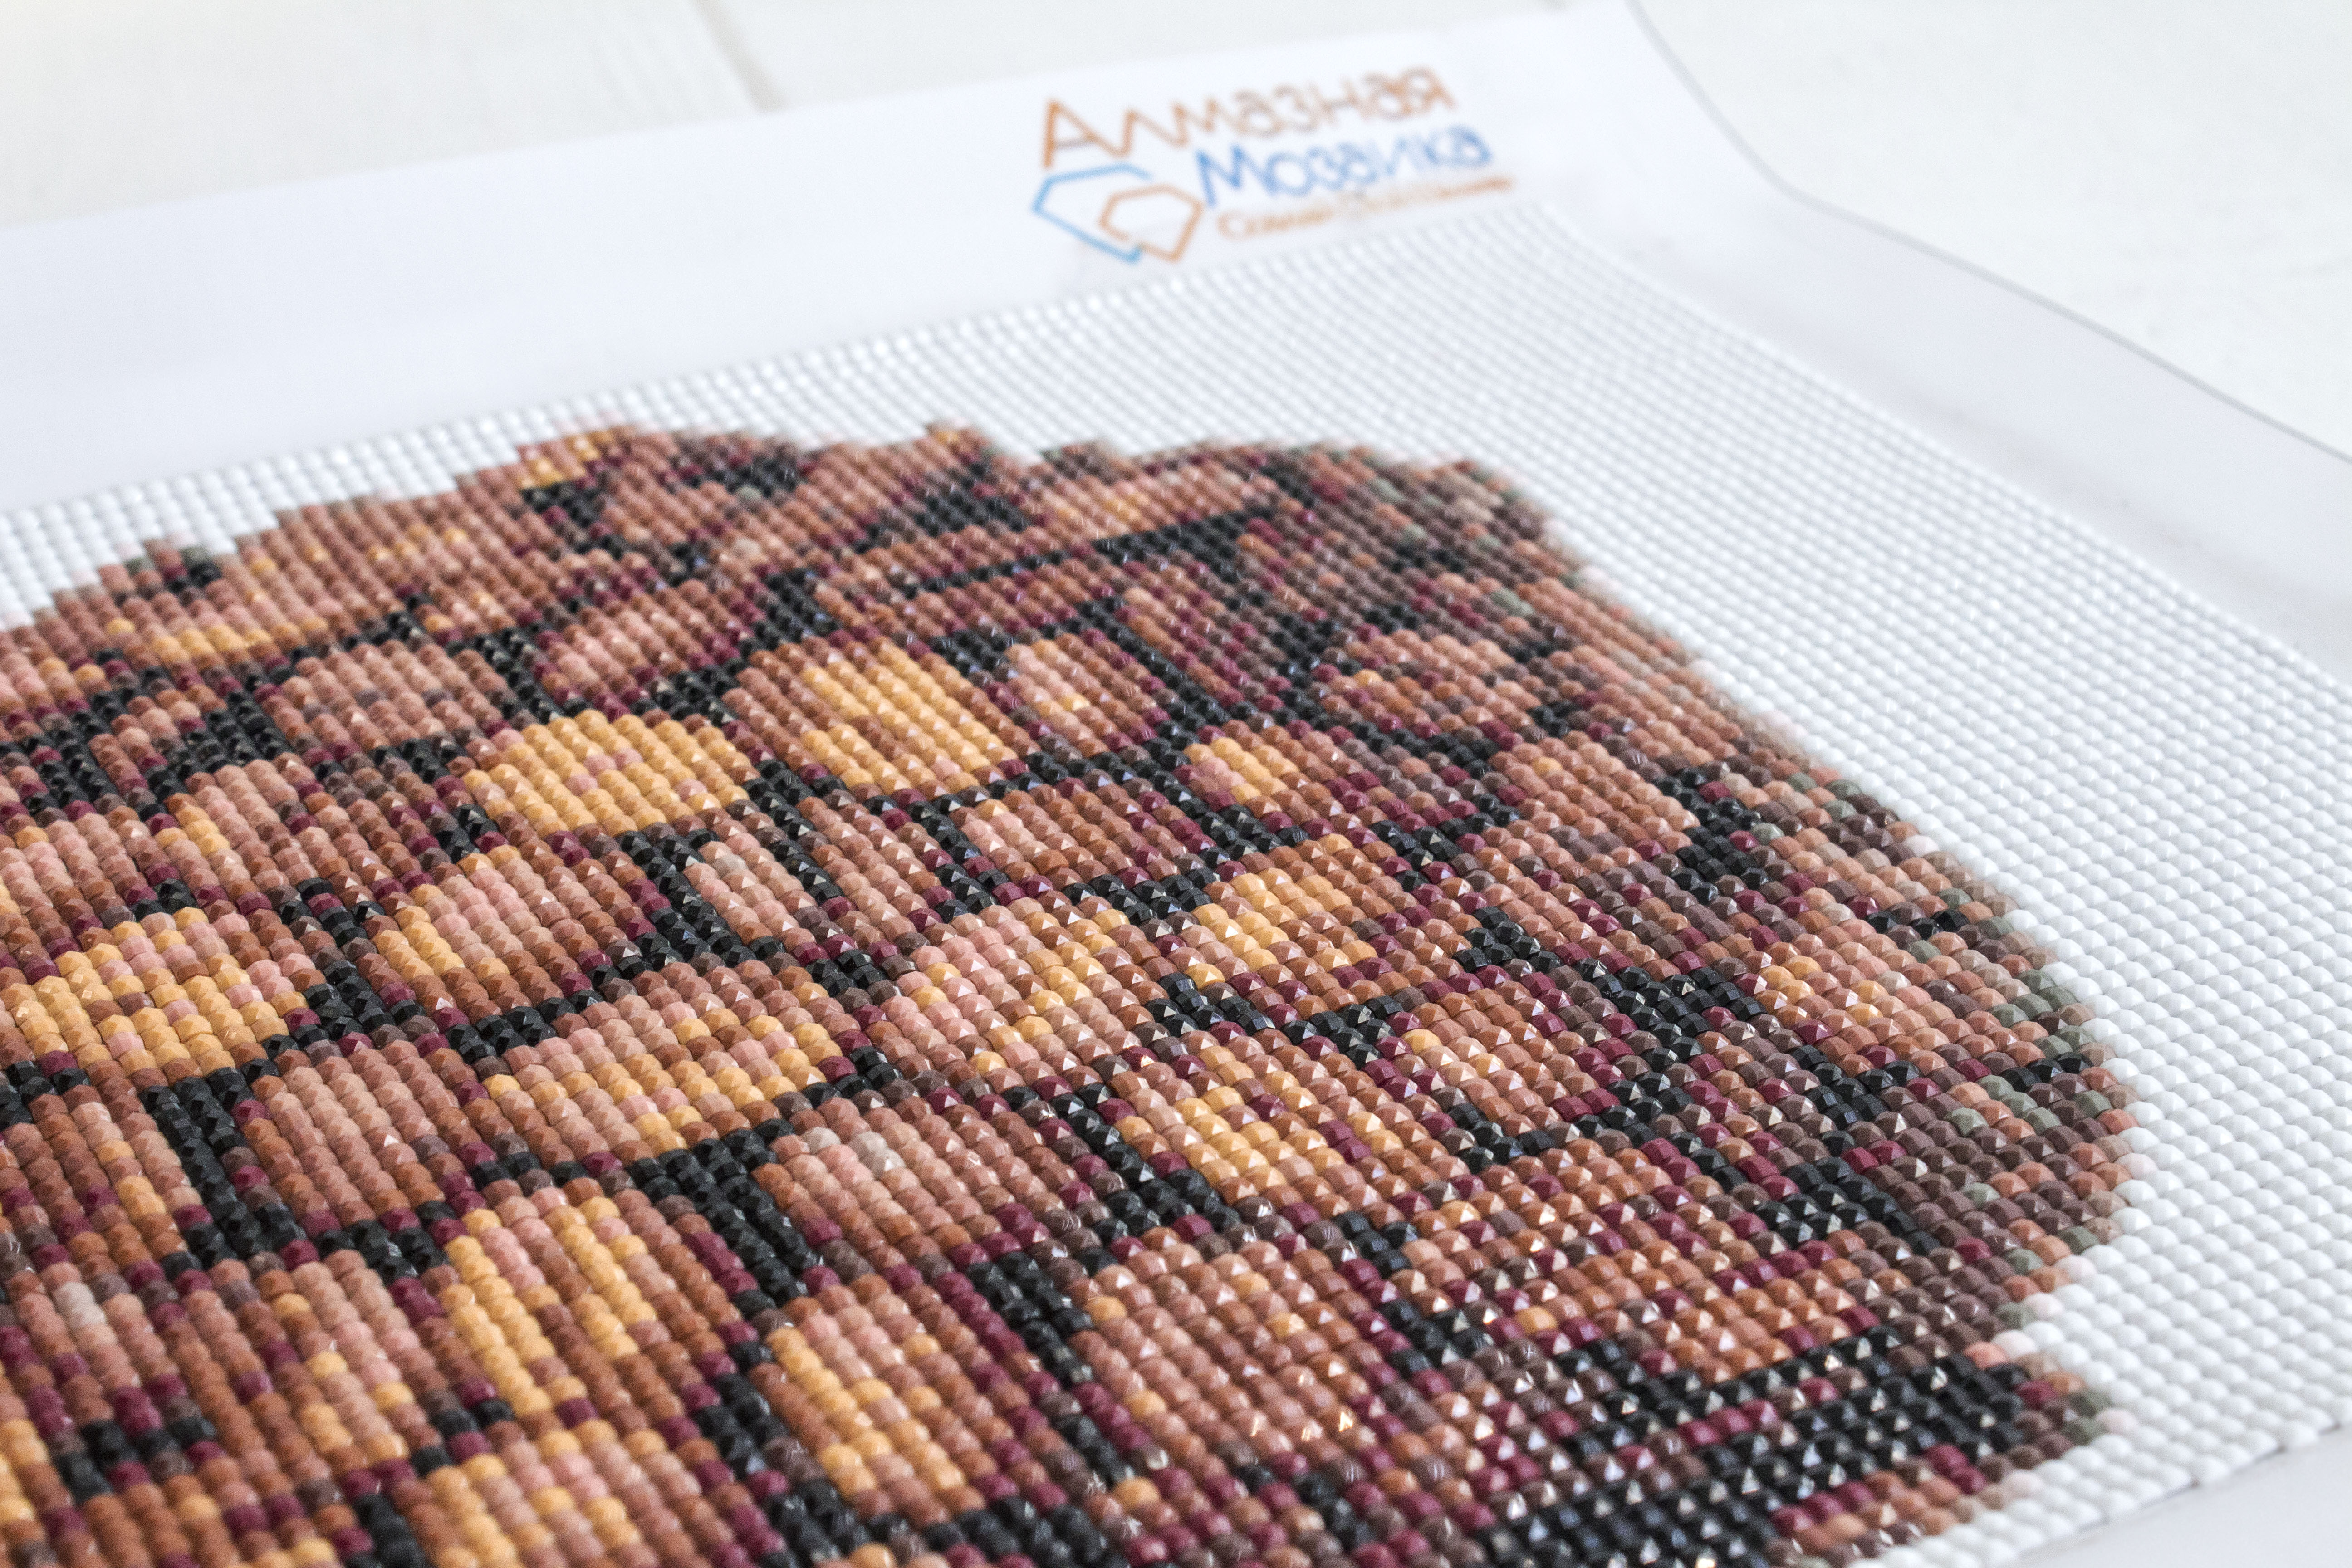
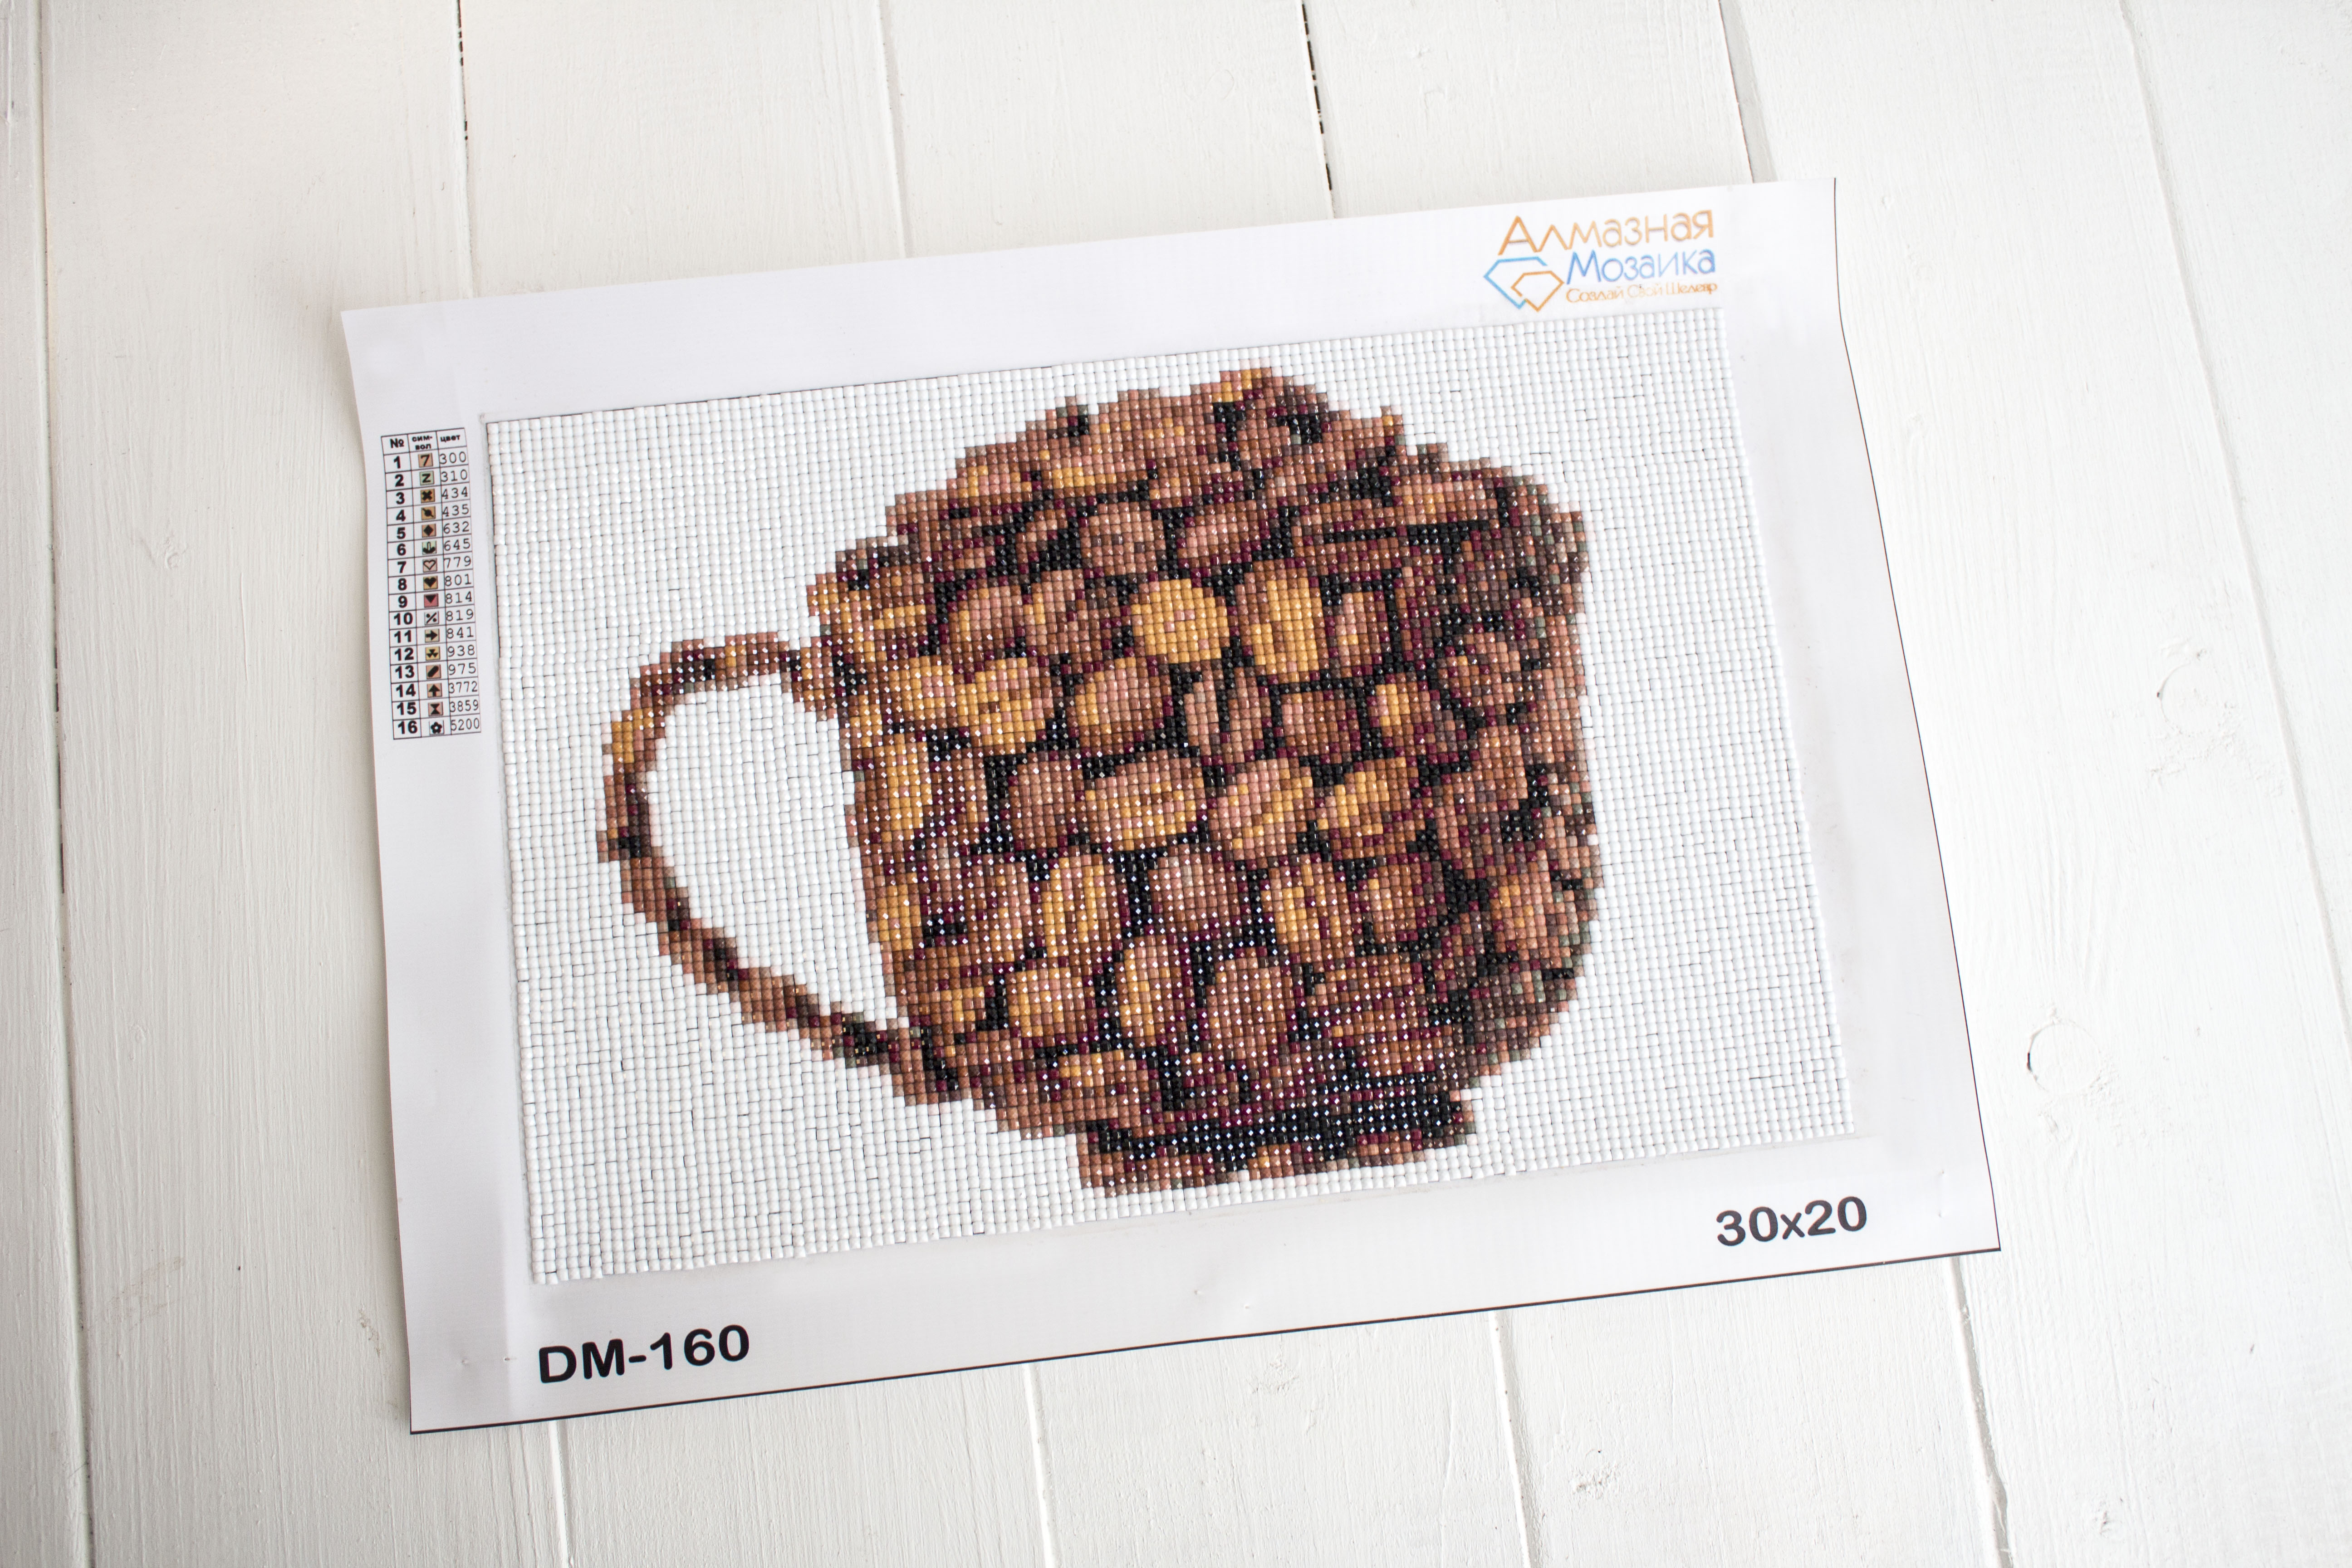
3. Layout of rhinestones should be carried out according to the scheme which before the beginning of work it is recommended to consider. Each stone should be carefully taken with tweezers or a stylus and put it on the flat side in the right place. After light pressing, the rhinestone will securely adhere to the base.
Importantly: It is possible that after completing the picture and filling all the sectors, there will be a little rhinestone - this is normal. As manufacturers, we complete sets with a stock of 10 -15%
4. Work on sectors. It is better to embroider by sectors, following a single direction. In the process of embroidery, you should carefully inspect each stone, defective rhinestones with chips and cracks are better set aside so as not to spoil the overall impression of the picture.
5. Alignment. The alignment process involves the use of a regular office ruler, with which you need to carefully align the horizontal and vertical rows.
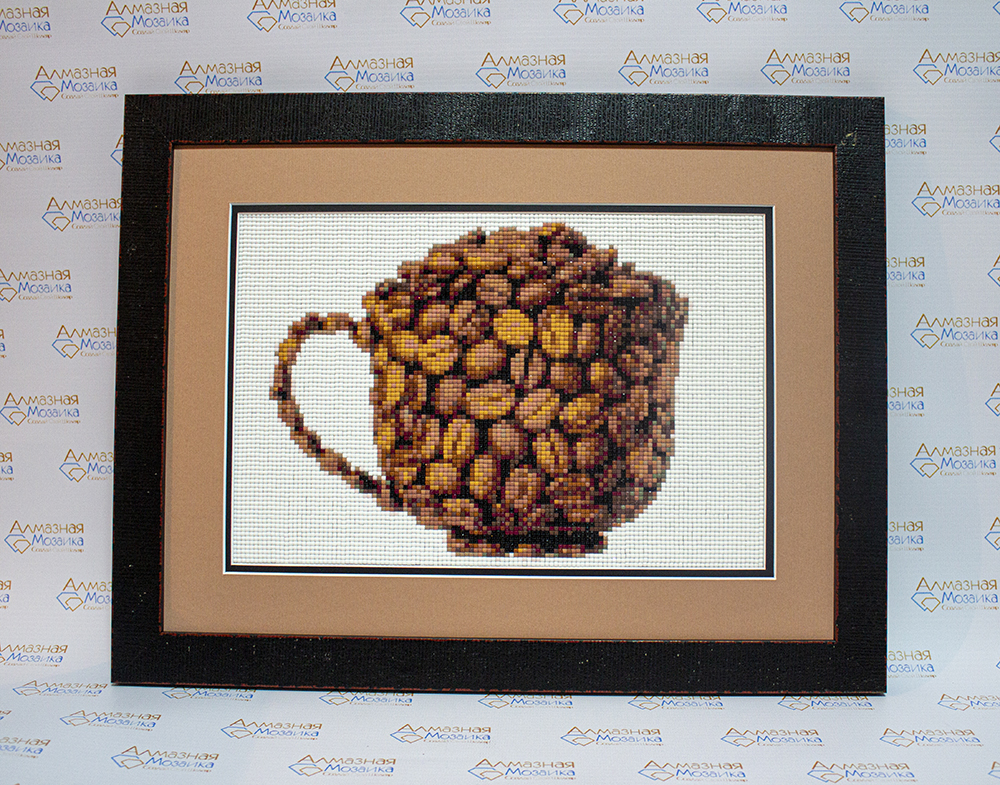
The picture is ready! You can stretch the canvas with your creation on the frame and decorate with a baguette.